Transforming your backyard from a basic patch of grass into an outdoor oasis is one of the most exciting home improvement journeys you can undertake. Whether you picture yourself hosting vibrant summer barbecues, watching your children play in a secure environment, or unwinding by a peaceful water feature after a long day, a complete overhaul can fundamentally change how you experience your home.
However, a comprehensive backyard transformation is a massive undertaking. Unlike an indoor kitchen or bathroom remodel that is contained behind closed doors, an outdoor renovation completely takes over your property. It alters your daily routines, introduces heavy machinery to your landscape, and requires navigating a complex web of design choices, local regulations, and construction phases.
Many homeowners dive into the process focusing entirely on the beautiful end result, only to find themselves overwhelmed by the noise, mud, and logistical hurdles of the construction process. To keep your sanity intact and ensure your project stays on track, it helps to know exactly what is coming. This comprehensive, step-by-step guide walks you through the entire journey of a major outdoor transformation, offering practical advice to help you navigate each phase like a seasoned pro.
The Design and Permitting Waiting Game

The first phase of your project is ironically the quietest, but it requires the most mental energy. Long before any shovels hit the dirt, you will spend weeks or even months in the planning and administrative stage. Expect multiple site visits from professionals who will measure your property, assess the slope of your land, map out sun exposure, and discuss your lifestyle goals. You will review 3D renderings, select material samples, and tweak layouts until the blueprint matches your vision.
Once you approve the final design, the project slows down to a crawl as it enters the bureaucratic pipeline. Engineering plans must be drawn up, and applications must be submitted to local building departments. Depending on where you live, the approval process for structural additions can take anywhere from a few weeks to several months.
Actionable Tips for the Design Phase
-
Check HOA guidelines before filing permits: If you belong to a Homeowners Association, submit your designs to their architectural review committee first. Obtaining city approval means very little if your HOA rejects the aesthetic choices later, which can result in costly design redraws.
-
Map out underground utilities early: Ensure your design team contacts local utility locators to mark underground gas, water, fibers, and electric lines. Knowing exactly where these lines sit ensures you do not inadvertently place a large shade structure, like a custom timber pergola, directly over a main utility easement.
-
Lock in specialized trades well in advance: High-quality contractors book out months ahead of time. Start researching and vetting local fence companies during the initial sketch phase so you can secure a spot on their production schedule before the peak spring and summer rush hits.
Excavation and the “Mud Nile” Phase
Once the permits are issued and the contracts are signed, the peace and quiet of your home will come to a sudden end. The excavation phase is often the most shocking for homeowners. Heavy machinery, including bobcats, mini-excavators, and dump trucks, will roll into your yard. Within a matter of hours, your lush green grass, familiar bushes, and old patios will be torn up and hauled away.
Your backyard will quickly transform into what looks like an active archeological dig or a chaotic war zone. You will be faced with massive piles of displaced dirt, deep trenches, constant noise, and an unbelievable amount of dust or mud, depending on the weather. This phase is messy, loud, and visually jarring, but it is a necessary step to create a blank canvas for your new yard.
Actionable Tips for Navigating Excavation
-
Over-communicate with your neighbors: Construction noise, flying dust, and vibration can easily strain neighborly relationships. Give the people living around you a courtesy heads-up regarding the start date and the expected duration of the heavy digging. A small gift or a polite conversation goes a long way.
-
Clear a wide access pathway: Heavy equipment requires ample physical space to maneuver. Walk your property line with your local pool contractors to ensure there is a clear path, typically at least eight to ten feet wide, free of low-hanging tree branches, AC units, or delicate landscaping elements.
-
Protect your indoor living spaces: Mud and dust have a sneaky way of migrating indoors on the bottoms of shoes and paws. Lay down heavy-duty canvas drop cloths or plastic runners near all back entryways, change your HVAC air filters weekly during this phase, and keep all windows tightly sealed. This is especially vital if the heavy machinery is digging out a massive hole for a new in-ground swimming pool.
Plumbing, Electrical, and Structural Foundations

Before your yard can start looking beautiful, the invisible infrastructure must be installed. This is the phase where your project takes a deeply technical turn. Contractors will dig deep trenches across the yard to lay down heavy-duty PVC pipes for drainage, run electrical conduit for outdoor lighting and entertainment systems, and hook up gas lines for fire features or outdoor kitchens.
At the same time, crews will pour concrete footings and assemble the steel rebar frameworks that give your backyard its structural integrity. If you are building raised tiers or retaining walls to manage a slope, the subterranean concrete bases will be poured now. This phase requires precision, as mistakes made underground are incredibly difficult and expensive to fix later.
Actionable Tips for the Infrastructure Phase
-
Future-proof your underground utilities: Even if your budget does not allow for a complete outdoor kitchen or an elaborate sound system right now, have your contractors run extra empty conduit pipes underground. It costs very little to lay down plastic conduit while the trenches are wide open, saving you from having to dig up your beautiful yard in the future.
-
Verify municipal inspections: Most cities require a strict “rough-in” inspection before any underground utilities or structural foundations can be covered up with dirt or concrete. Confirm that your swimming pool contractor has scheduled and passed these specific inspections before allowing them to move forward.
-
Monitor the leveling closely: Take a walk around the yard with a level or simply observe the framing work as the crew builds out the foundational perimeters. Keeping a close eye on the early structural stages ensures everything aligns perfectly with the planned layout of your pool deck.
Hardscaping and Vertical Structures
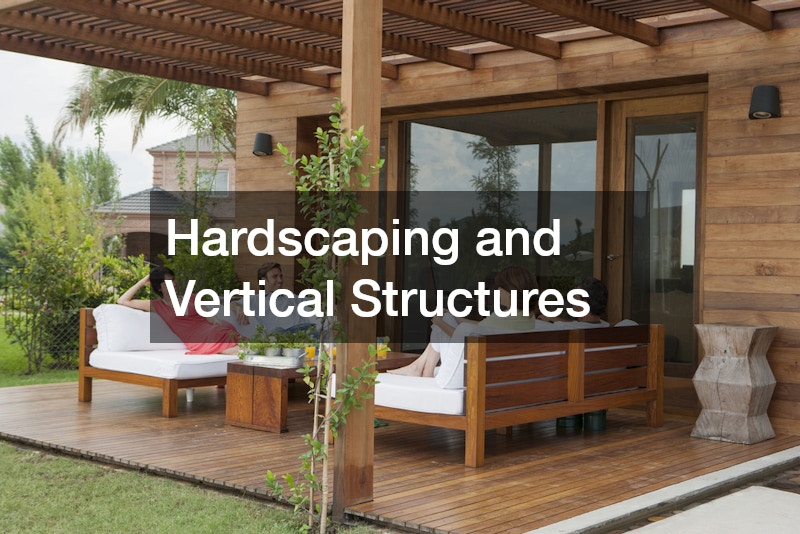
This is the turning point where your backyard begins to look like a living space rather than a construction site. The hardscaping phase involves laying down the solid, flat surfaces and vertical structures that define the zones of your yard. You will see masons laying stone patios, carpenters framing raised platforms, and installers piecing together pathways.
The choice of materials during this phase heavily dictates both the long-term maintenance required and the overall aesthetic value of your property. Hardscaping requires a meticulous eye for detail, as proper water drainage and structural leveling are paramount to preventing cracking, shifting, or water pooling against your house over time.
Actionable Tips for Hardscaping Success
-
Prioritize proper slope and drainage: Ensure all solid surfaces are engineered to slope away from your home’s foundation. A standard guideline is a minimum drop of one-quarter inch per linear foot, which guarantees that heavy rainfall channels safely toward your yard’s drainage systems instead of your basement.
-
Invest in high-performance materials: While traditional wood options look nice initially, they degrade quickly under intense sun and rain. Utilizing engineered composite decks for your elevated lounging areas will save you countless weekends of labor, as they do not warp, splinter, or require seasonal staining.
-
Inquire about protective sealants: If your design features intricate stone pathways or interlocking pool deck pavers around a water feature, talk to your installation crew about applying a premium, breathable sealer. This protects the stone from salt, chlorine, and UV discoloration while making oil spills from the grill much easier to clean.
Enclosures and Final Safety Borders
With the main entertaining and swimming zones structurally complete, the focus shifts toward securing the perimeter of your property. Installing fences and enclosures serves several critical purposes: it establishes privacy from nosy neighbors, keeps beloved pets and children contained safely within your property lines, and ensures your yard complies with strict local safety ordinances.
This phase requires careful coordination between different installation teams. If your backyard features a deep body of water, the timing of your fence installation is legally bound to the completion of the water structure itself, meaning a delay in one can stall out the other. Security and visual appeal must go hand in hand during this portion of the project.
Actionable Tips for Enclosures and Boundaries
-
Deconflict schedules with pool companies: If you are working with specialized pool companies to install a custom aquatic feature, coordinate their timeline closely with your fencing crew. In most jurisdictions, a pool cannot legally be filled with water until a code-compliant perimeter fence is fully erected and inspected.
-
Understand local pool safety codes: Review your city’s specific barrier laws before selecting a fence style. Most building codes require a safety fence to be at least four to five feet tall, with vertical slats spaced closely enough that a small child cannot squeeze through, and equipped with self-closing, self-latching gates.
-
Select low-maintenance perimeter materials: Boundary walls and fences face brutal weather year-round. Opting for classic vinyl picket fences around your side yards or front entryways gives you the timeless charm of traditional painted wood without the headache of peeling paint, wood rot, or termite damage.
Landscaping, Lighting, and Softscaping
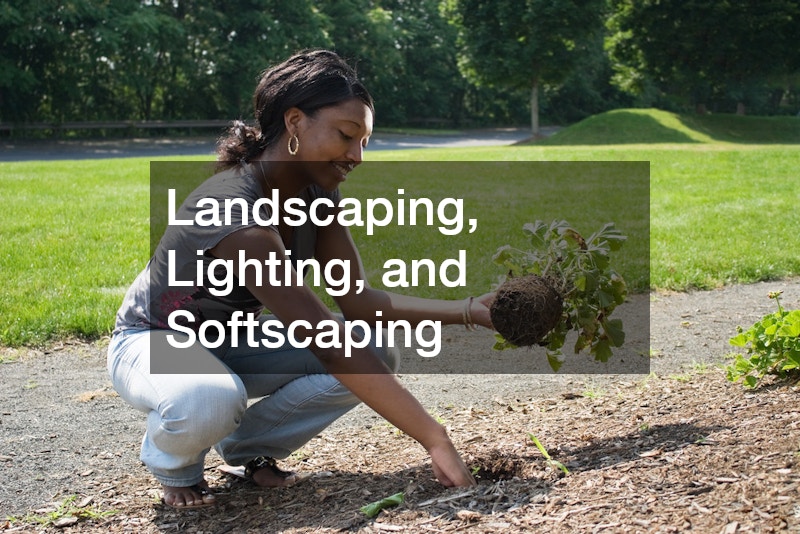
The final phase of your backyard renovation is where the magic truly happens. Softscaping brings life, color, texture, and softness back to a yard that has been dominated by concrete, stone, and heavy machinery for weeks. This stage involves bringing in fresh, nutrient-rich topsoil, rolling out green blankets of sod, planting mature privacy trees, and installing flower beds.
Alongside the plants, technicians will install low-voltage landscape lighting. This includes path lights, spotlights to highlight architectural features, and ambient string lighting. The combination of thoughtfully placed greenery and strategic lighting ties the entire project together, turning a collection of hard surfaces into a warm, welcoming outdoor home.
Actionable Tips for the Softscaping Phase
-
Design your lighting in layers: Avoid the temptation to just stick a few bright floodlights on the back of your house, which can create harsh shadows and a sterile environment. Instead, layer your lighting by combining functional path lights for safety, subtle uplighting underneath the canopy of mature trees, and warm under-cap lighting beneath your steps or pool deck surfaces to create a resort-like ambiance.
-
Invest in smart irrigation automation: Brand new sod, shrubs, and trees are highly vulnerable during their first few months in the ground. Do not rely on your memory or a manual garden sprinkler to keep them alive. Install an automatic drip-irrigation system paired with a smart, weather-sensing controller that automatically adjusts watering schedules based on local rainfall.
-
Practice the “Right Plant, Right Place” philosophy: Research the mature size of trees and bushes before planting them. Avoid placing aggressive root-system trees too close to your underground utilities, patios, or pool structures, as growing roots can easily crack concrete and disrupt pipes over time.
Conclusion
A full backyard renovation is undeniably a marathon, not a sprint. It is a complex journey filled with muddy footprints, loud machinery, unexpected weather delays, and occasional logistical headaches. There will likely be moments during the height of construction when you look out your back window at the piles of dirt and wonder if you made the right decision.
However, if you enter the project with realistic expectations, a clear understanding of the construction phases, and an organized plan of action, you can navigate the process with minimal stress. The temporary disruptions will fade from memory the moment the dust clears, the lights turn on, and you step out into your brand-new outdoor paradise. By investing the time to plan carefully and hire the right professionals, you create an extension of your home that will host decades of family memories, boost your property value, and provide a personal sanctuary for relaxation and joy.